Let’s continue our tutorial by creating Android Virtual Device (AVD)
Assumptions:
- You already followed our first tutorial in http://www.halilintar.org/2010/12/android-in-windows-2/
Open your Eclipse IDE
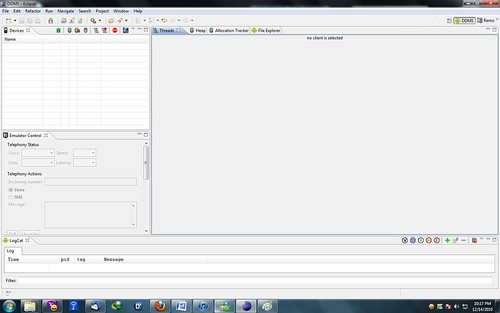
Go to Window > Android SDK and AVD Manager, update it first by choosing ‘Available packages’
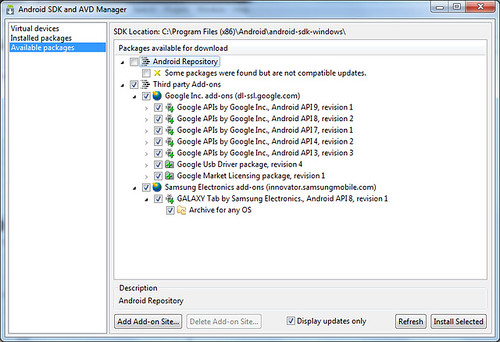
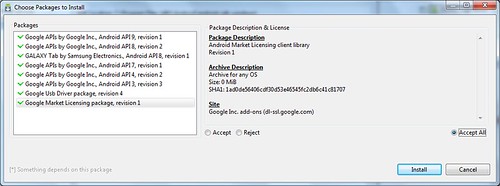
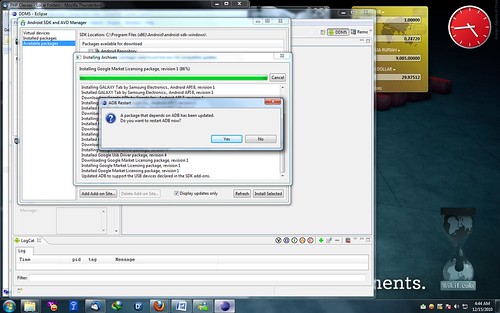
Click ‘Install Selected’, it will open a new window. Choose Accept All > Install
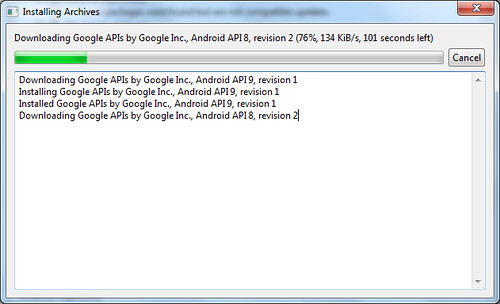
Just wait for a moment, it will takes about 45 mnt 😉
After everything finish, it will ask you to restart the ADB. Choose ‘Yes’
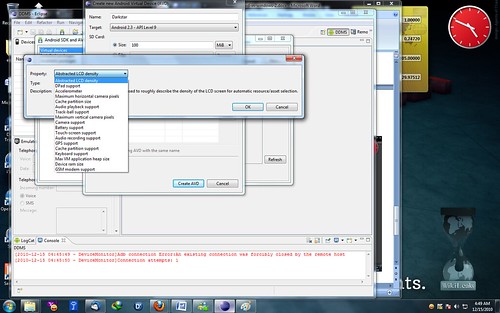
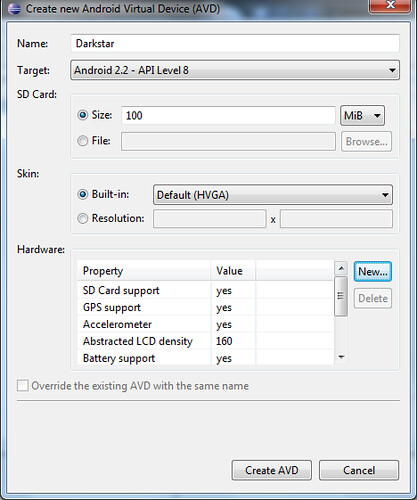
Then go to Virtual devices > New. Fill up requirements that you want for your virtual devices. You can also simulate Galaxy Tab in here. Here are list of complete hardware that you can simulate on your virtual devices.
This is my configuration, click ‘Create AVD’
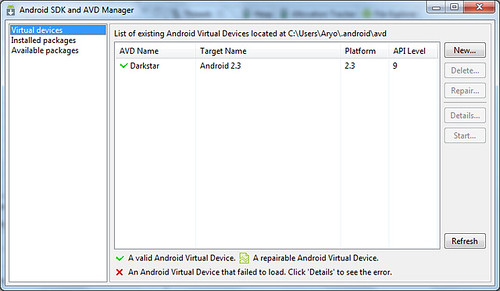
You can create as many virtual devices as you want with different API target to simulate backward compatibilities of your created application (s)
To start your VD, click the VD > Start > Launch
If your VD run well, it will exactly look like this
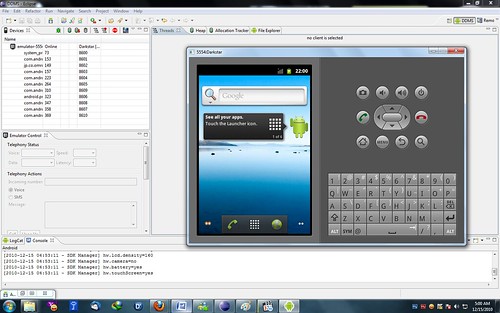
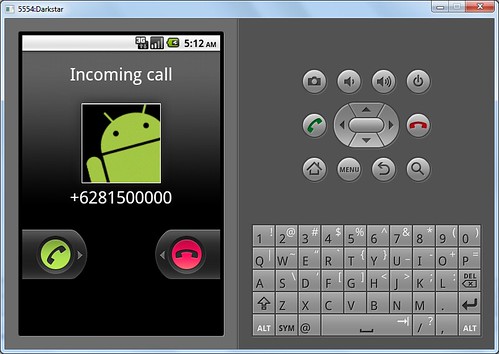
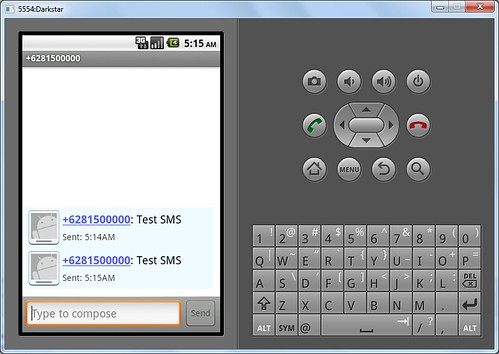
Now to test SMS & call functions. In your IDE, Choose your Devices > Emulator Control > Telephony Actions > Incoming number : +62815000000 > Voice > click Call or SMS > Message : Test SMS > Send
When your VD response like below pictures, then its done 😉
A complete documentation can be downloaded from here

Developing Android apps in Windows (II) by M. Aryo N. Pratama is licensed under a Creative Commons Attribution-NonCommercial-ShareAlike 3.0 Unported License.
Based on a work at www.halilintar.org.
Permissions beyond the scope of this license may be available at http://www.halilintar.org.