I want to share to u all how to develop application for Android in Windows. In this section, we will discuss about installing & preparing your IDE (Eclipse).
Assumptions:
- You are using Windows 7 64-bit
Requirements:
- Eclipse Classic 3.6.1 (Helios) for Windows 64-bit. Download from here
- ADT Plugin for Eclipse (ADT 8.0.0). Download from here or simply u can use Eclipse facility to install software.
- SDK Tools, r8. Link here
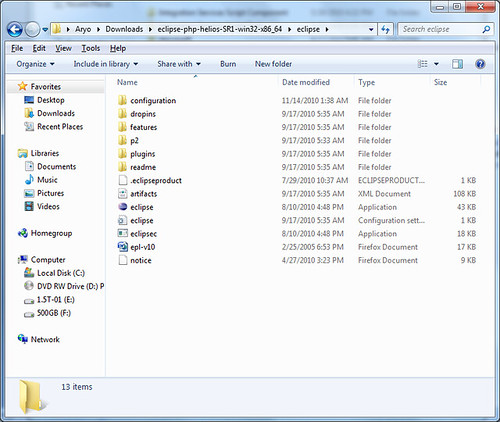
Extract Eclipse in Desktop or any location that u want.
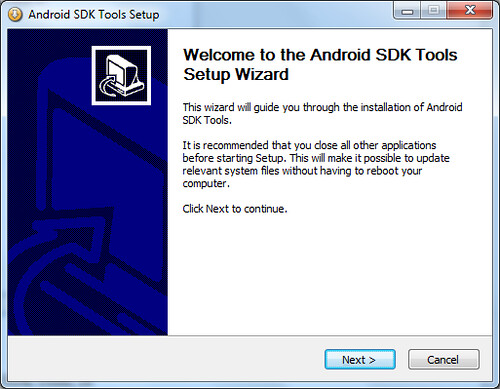
Install SDK Tools, r8
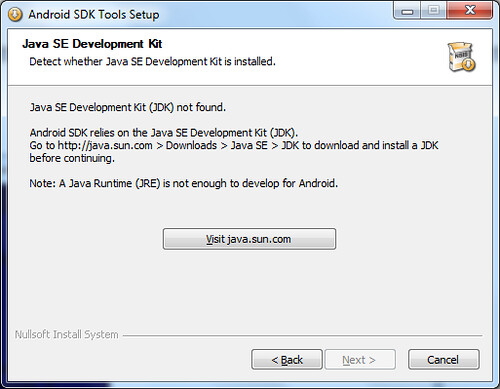
If u get message above than u should download JDK first from here http://www.oracle.com/technetwork/java/javase/downloads/index.html
Bandwidth show off (242 bytes*8) = 2Mbps :P, its very fast in Indonesia dude J)
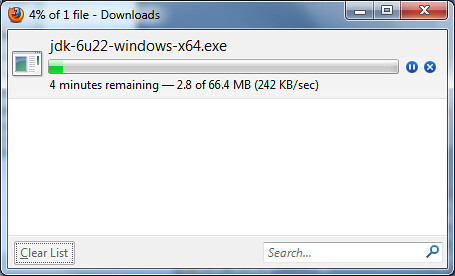
OK, let’s continue to install SDK Tools, r8. If the installation still complaining about JDK, just download the 32-bit version & install it. That will do the trick.
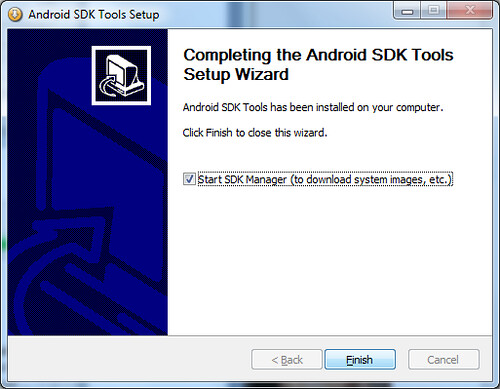
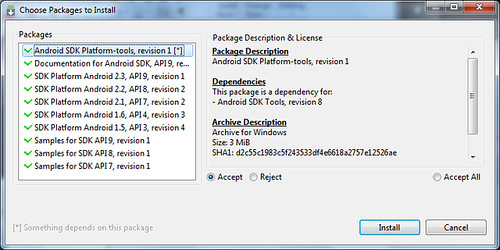
This is my full window screenshot.
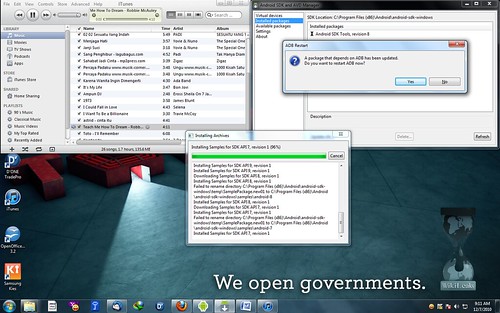
It probably takes about 60 minutes for this process to complete
If it ask u to restart your ADB just click Yes > Close
Now Installing ADT for Eclipse, Help > Install New Software > Add
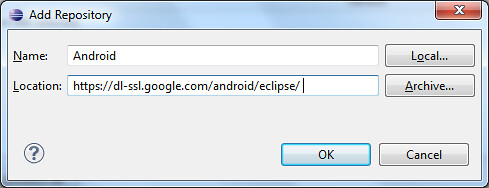
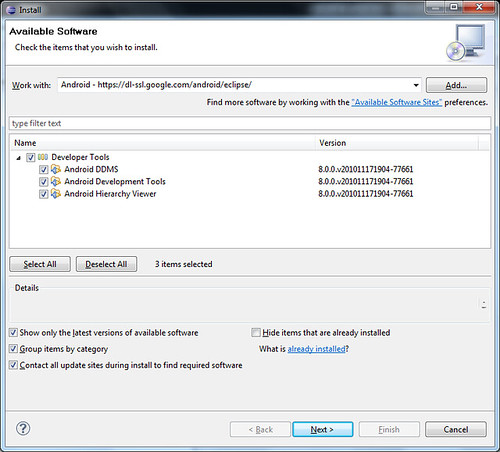
Follow the procedures to Install ADT.
Go to Window > Open Perspective > Others > DDMS
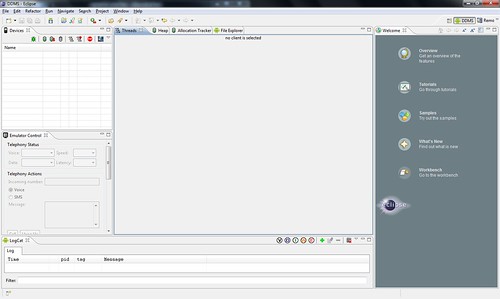
Check if it’s ready for development, go to Window > Android SDK and AVD Manager

If you have error like above pic then you have to re-configure the Window > Preferences > Android > SDK Location
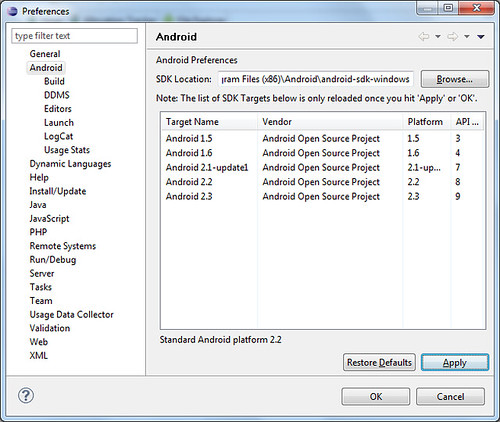
OK , and your IDE is ready 😉
A complete offline documentation is available for you to download here

Developing Android apps in Windows (I) by M. Aryo N. Pratama is licensed under a Creative Commons Attribution-NonCommercial-NoDerivs 3.0 Unported License.
Based on a work at www.halilintar.org.
Permissions beyond the scope of this license may be available athttp://www.halilintar.org.